

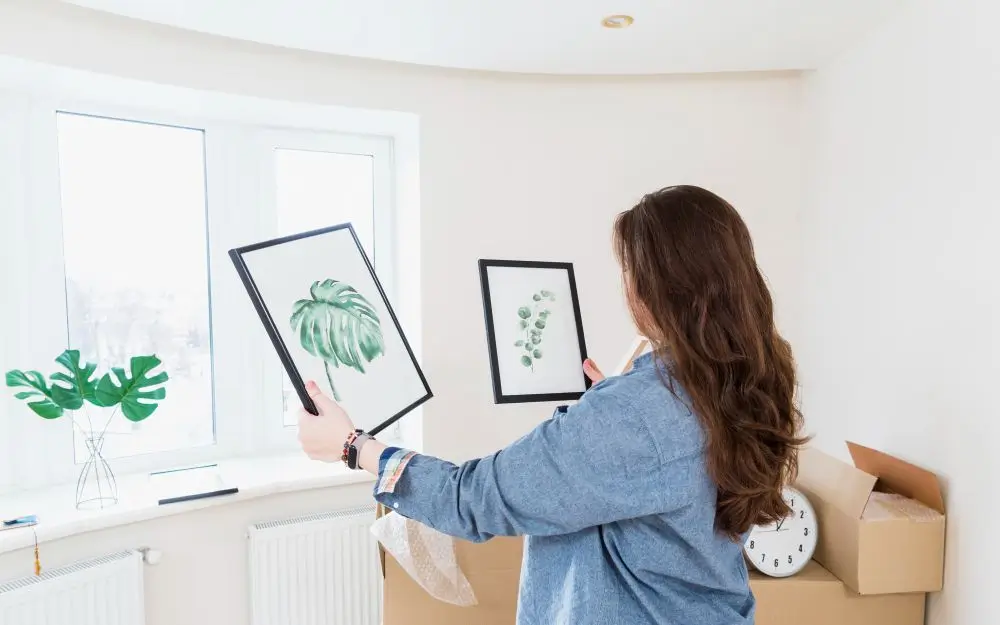
A safe artwork display relies on matching your fixing to the wall type, placing the piece at a comfortable viewing height, and getting professional help for heavy or tricky installations. Getting this right saves your walls and protects your favourite pieces from sudden disastrous falls.
Here are the top three rules for safe picture hanging.
- Identify the wall substrate before you pick up a drill or hammer.
- Hang the centre of the artwork approximately 145 to 150 centimetres from the floor.
- Use structural anchors or direct stud mounts for heavy mirrors and valuable art.
Why safe picture hanging matters
I remember a few years back when a giant mirror fell off the wall in my old rental property. I had just used a cheap hook I found in a kitchen drawer. The glass smashed everywhere across the floorboards. It was an absolute nightmare to clean up and I lost a good chunk of my bond paying for the plaster repair.
Gravity is relentless. If you cut corners with your hardware the artwork will eventually end up on the floor.
That said it is not always a disaster scenario. Sometimes bad hanging just looks terrible. A beautiful painting hung way too high makes the whole room feel awkward and disjointed. You want your space to feel intentional. Taking the time to do things properly means you get a stylish result that actually lasts.
Identify your wall type first
Australian homes usually feature a mix of ‘plasterboard’, timber studs, and solid brick. You absolutely must know what you are drilling into. Guessing is a fast track to ruined paintwork.
Plasterboard or Gyprock is hollow. It has very little holding strength unless you use a fixing designed to grip behind the board. If you just drive a screw straight into the middle of a gyprock sheet it will probably pull right out under any significant weight. I think a lot of people assume screws are magic. They really aren’t. You need a proper anchor.
The best option for anything heavy is a timber stud. A screw driven into structural timber provides a massive amount of strength. You can use an electronic stud finder to locate them. Or you can tap the wall and listen for a solid sound though that method is definitely less reliable.
Brick walls require a completely different approach. You will need a masonry drill bit and plastic wall plugs to get anywhere with brickwork.
Picking the right hardware
There is no universal picture hook that works for everything. You have to look at the weight of the frame and the condition of the wall. Some lightweight frames are fine on small hooks. But anything substantial needs something stronger. I usually prefer using two fixings rather than one.
D-rings are metal brackets attached to the back of the frame. They are much more stable than a flimsy piece of string. When you use two D-rings positioned symmetrically the frame stays perfectly level.
Heavy duty hooks can be great on plaster walls if they are rated for the weight. But you have to check the manufacturer specifications. A product label is not a guarantee if your wall is crumbling or damaged. If you want reliable advice you can check out Bunnings for their hardware weight guides. They recommend mounting anything over 20 kilograms directly into a stud. That makes a lot of sense. Better safe than sorry.
Never trust old picture wire that looks frayed.
The correct height for hanging artwork
A very common mistake is hanging art way too high. You walk into a room and have to crane your neck just to look at a print. The standard gallery rule is to hang pieces so the centre is around 145 to 150 centimetres from the floor. This puts the artwork at a comfortable eye level for most people.
You measure to the centre of the artwork. Do not measure to the top of the frame.
There are exceptions of course. If you are hanging a piece above a sofa or a console table you have to accommodate the furniture below it. A narrow gap between the frame & the furniture makes the arrangement look connected. If you leave too much empty space the artwork looks completely detached. It seems to me that people get scared of hanging things low.
Have you ever noticed how cozy a room feels when the art is grounded? It brings the ceiling down in a good way. Just try it and see.
Planning a balanced gallery wall
Gallery walls are brilliant for displaying a collection of different prints and photographs. But they require a bit of planning before you start making holes. The easiest method is to lay the entire arrangement out on the floor first. You can move things around until the balance feels right. Then cut out paper templates of each frame. Tape those templates to the wall to test the proportions.
Spacing is crucial here. A gap of around 5 to 10 centimetres between frames is usually a safe bet. You want the gaps to be visually consistent even if they are not mathematically identical everywhere.
Treat the whole group as one single composition. Find the centre of that massive group and place that point at the 145 centimetre mark. It sounds complicated but it actually makes the math easier. I saw a gallery wall once that featured a massive oil painting of a dog in a spacesuit right in the middle. It was weird but the spacing was flawless so it totally worked.
Use a level for every single mark. Crooked frames will drive you crazy over time.
Flexible and low damage display systems
Some homeowners want to avoid drilling multiple holes entirely. If you like to move your art around frequently a picture hanging rail system is a fantastic solution. These systems use tracks installed near the ceiling with adjustable cords and hooks hanging down.
You can slide the cords along the track to change the spacing. You can adjust the hooks up and down to change the height. It is incredibly flexible. Renters & gallery owners love them because they reduce wall damage. Galleries use them for the exact same reason.
But a rail is not magically damage free. The rail itself has to be screwed into the wall or ceiling securely. If the track is not anchored into studs or masonry it will just rip out under a heavy load. Always check the weight rating of the specific system you buy.
Adhesive strips are another popular option for lightweight frames. They are fine for small decorations on clean surfaces. They are absolutely not suitable for heavy glass fronted frames or humid rooms.
Hanging heavy mirrors safely
Heavy items require a lot of respect. A large mirror projecting out from the wall creates a serious hazard if the fixing fails. The load is not just the static weight of the object. Leverage and vibration from doors closing add extra stress to the anchors. You really need professional grade hardware here.
Finding wall studs is non negotiable for safety. Do not try to hang a 30 kilogram mirror on standard plasterboard anchors. Use a French cleat or a heavy two point mounting system. A French cleat spreads the weight across a wider section of the wall which is much safer.
Sometimes the wall surface is just too difficult to work with. Old heritage plaster can crumble the second you touch it with a drill. When dealing with valuable pieces or fragile walls relying on specialists in picture hanging Melbourne is the best way to guarantee a secure result. They know exactly how to assess the structural integrity of a wall. They carry the right anchors. It saves a lot of stress.
Professional installation often costs less than replacing a shattered mirror. Think about that before you grab a cheap plastic wall plug.
Protecting art from light and moisture
Finding the right spot on the wall requires you to consider the room environment. Direct sunlight will fade watercolours and photographs very quickly. The Western Australian Museum advises keeping artwork away from direct daylight to prevent deterioration. Light damage is permanent.
Heat and moisture are also huge enemies of framed art. Try to avoid hanging valuable pieces right above heating vents or fireplaces. Bathrooms are generally a terrible place for original art because of the steam and condensation. The humidity can cause paper to buckle and encourage mould growth inside the frame. The experts at Chubb recommend keeping artwork clear of exposed water sources entirely.
Indirect lighting is always preferable. Recessed ceiling lights or dedicated picture lights can illuminate a piece beautifully without exposing it to harmful UV rays. It is a small detail that makes a massive difference over time.
Final Thoughts
Decorating your home should be an enjoyable process. It can be frustrating when you are standing there with a hammer and a crooked frame but the end result is always worth it. Taking a little extra time to choose the correct hardware pays off. You get to enjoy your favorite pieces without worrying they might crash down in the middle of the night.
I suppose the biggest lesson is just to respect the weight of the objects you are hanging. Walls are stronger than we think if we use them correctly but they are unforgiving when we make lazy choices. Measure twice and drill once.
Your artwork deserves to be displayed safely. And your walls deserve to stay intact.
